
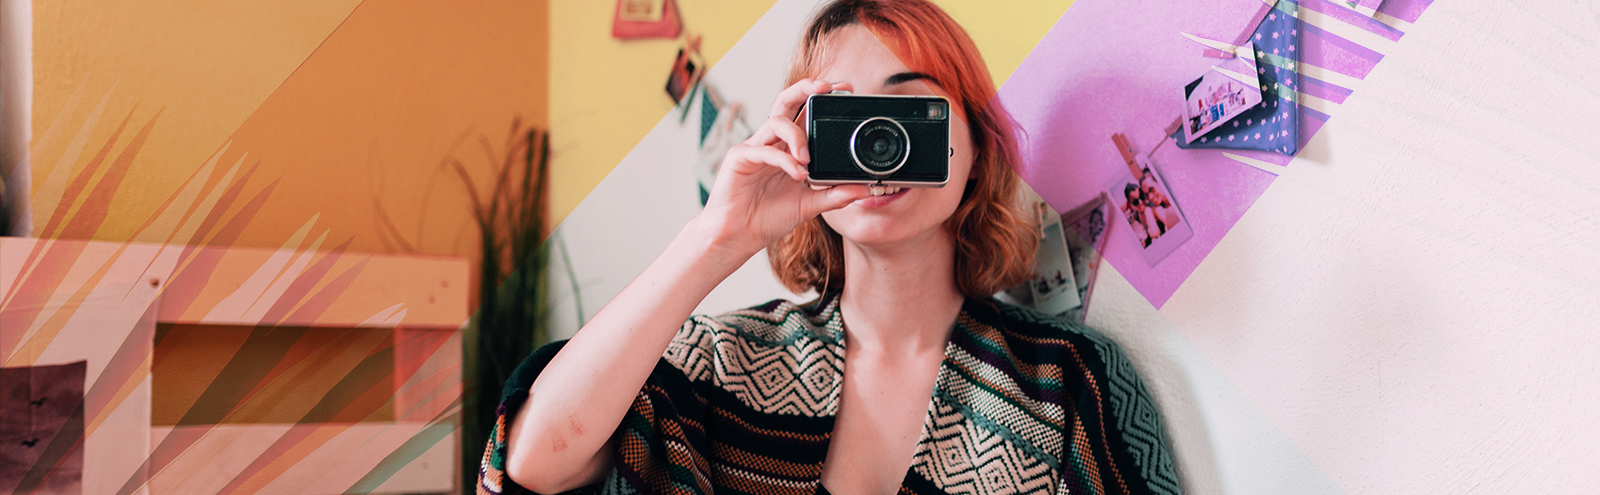
Three Photographers Share Advice For Upping Your Photography Game While In Isolation
iNFO Vi 
 • Bookmarks: 18

Look, we know you might be getting bored with the quarantine. We’re past the two-week mark and folks have cleaned their cupboards and indulged in all the Zoom happy hours they can handle. There’s a distinct possibility that you’ve got nothing to do with your leisure time today. (Assuming you are safe and food secure and have a few minutes to spare between dreading the unknown, refreshing Google news to a compulsive degree, and checking Twitter like a masochist.) The way we see it, you can spend those leftover minutes in one of two ways. You can lay on your bed digging deeper into a pit of despair thanks to the increasingly dire coronavirus news, or you could get busy living (while socially distanced).
That might mean leveling up your bread game. Or figuring out what dalgona coffee is all about. It might be improving your understanding of whiskey. Or taking your self-care more seriously. It could also mean finding new, meaningful ways to express yourself at a time when you have all kinds of bottled up emotions and feelings. Because if you’ve got the energy for it, there’s no better time to make art.
Not an artist you say? Check that noise. Remember those people you used to roll your eyes at, who would say things like “It’s art” about any little thing they made? Yeah, well, those kids were right. Anyone can do it. And anyone should. So pick up that camera that you dropped a lot of money on and never used (or your phone!) and start documenting this unprecedented time in our lives. Because one thing in all this is for sure: We’re living through a fascinating moment in history. One we’ll be asked about until we’re old. How do you want to answer those young brats researching the COVID-19 Pandemic of 2020 for a school paper? By griping about how your neck got sore while doing a full Breaking Bad rewatch? Or by cracking open that digital photo album (this is a future thing) and showing them how you kept your cool in the face of one of the scariest global moments in modern history?
We vote the latter (there’ll still be time for a few episodes of Walt and Jesse, don’t worry.) So to help you elevate your visual storytelling game, we chatted with three photographers — Charmi Pena, Dixie Dixon, and Thomas Bol — and picked their brains for some expert tips on how to use your home set-up to take better photos. Dive into their tips, then grab some everyday household items, your camera, and some good ‘ol boredom-fueled inspiration and get to creating!
What’s the easiest type of photography to practice at home?
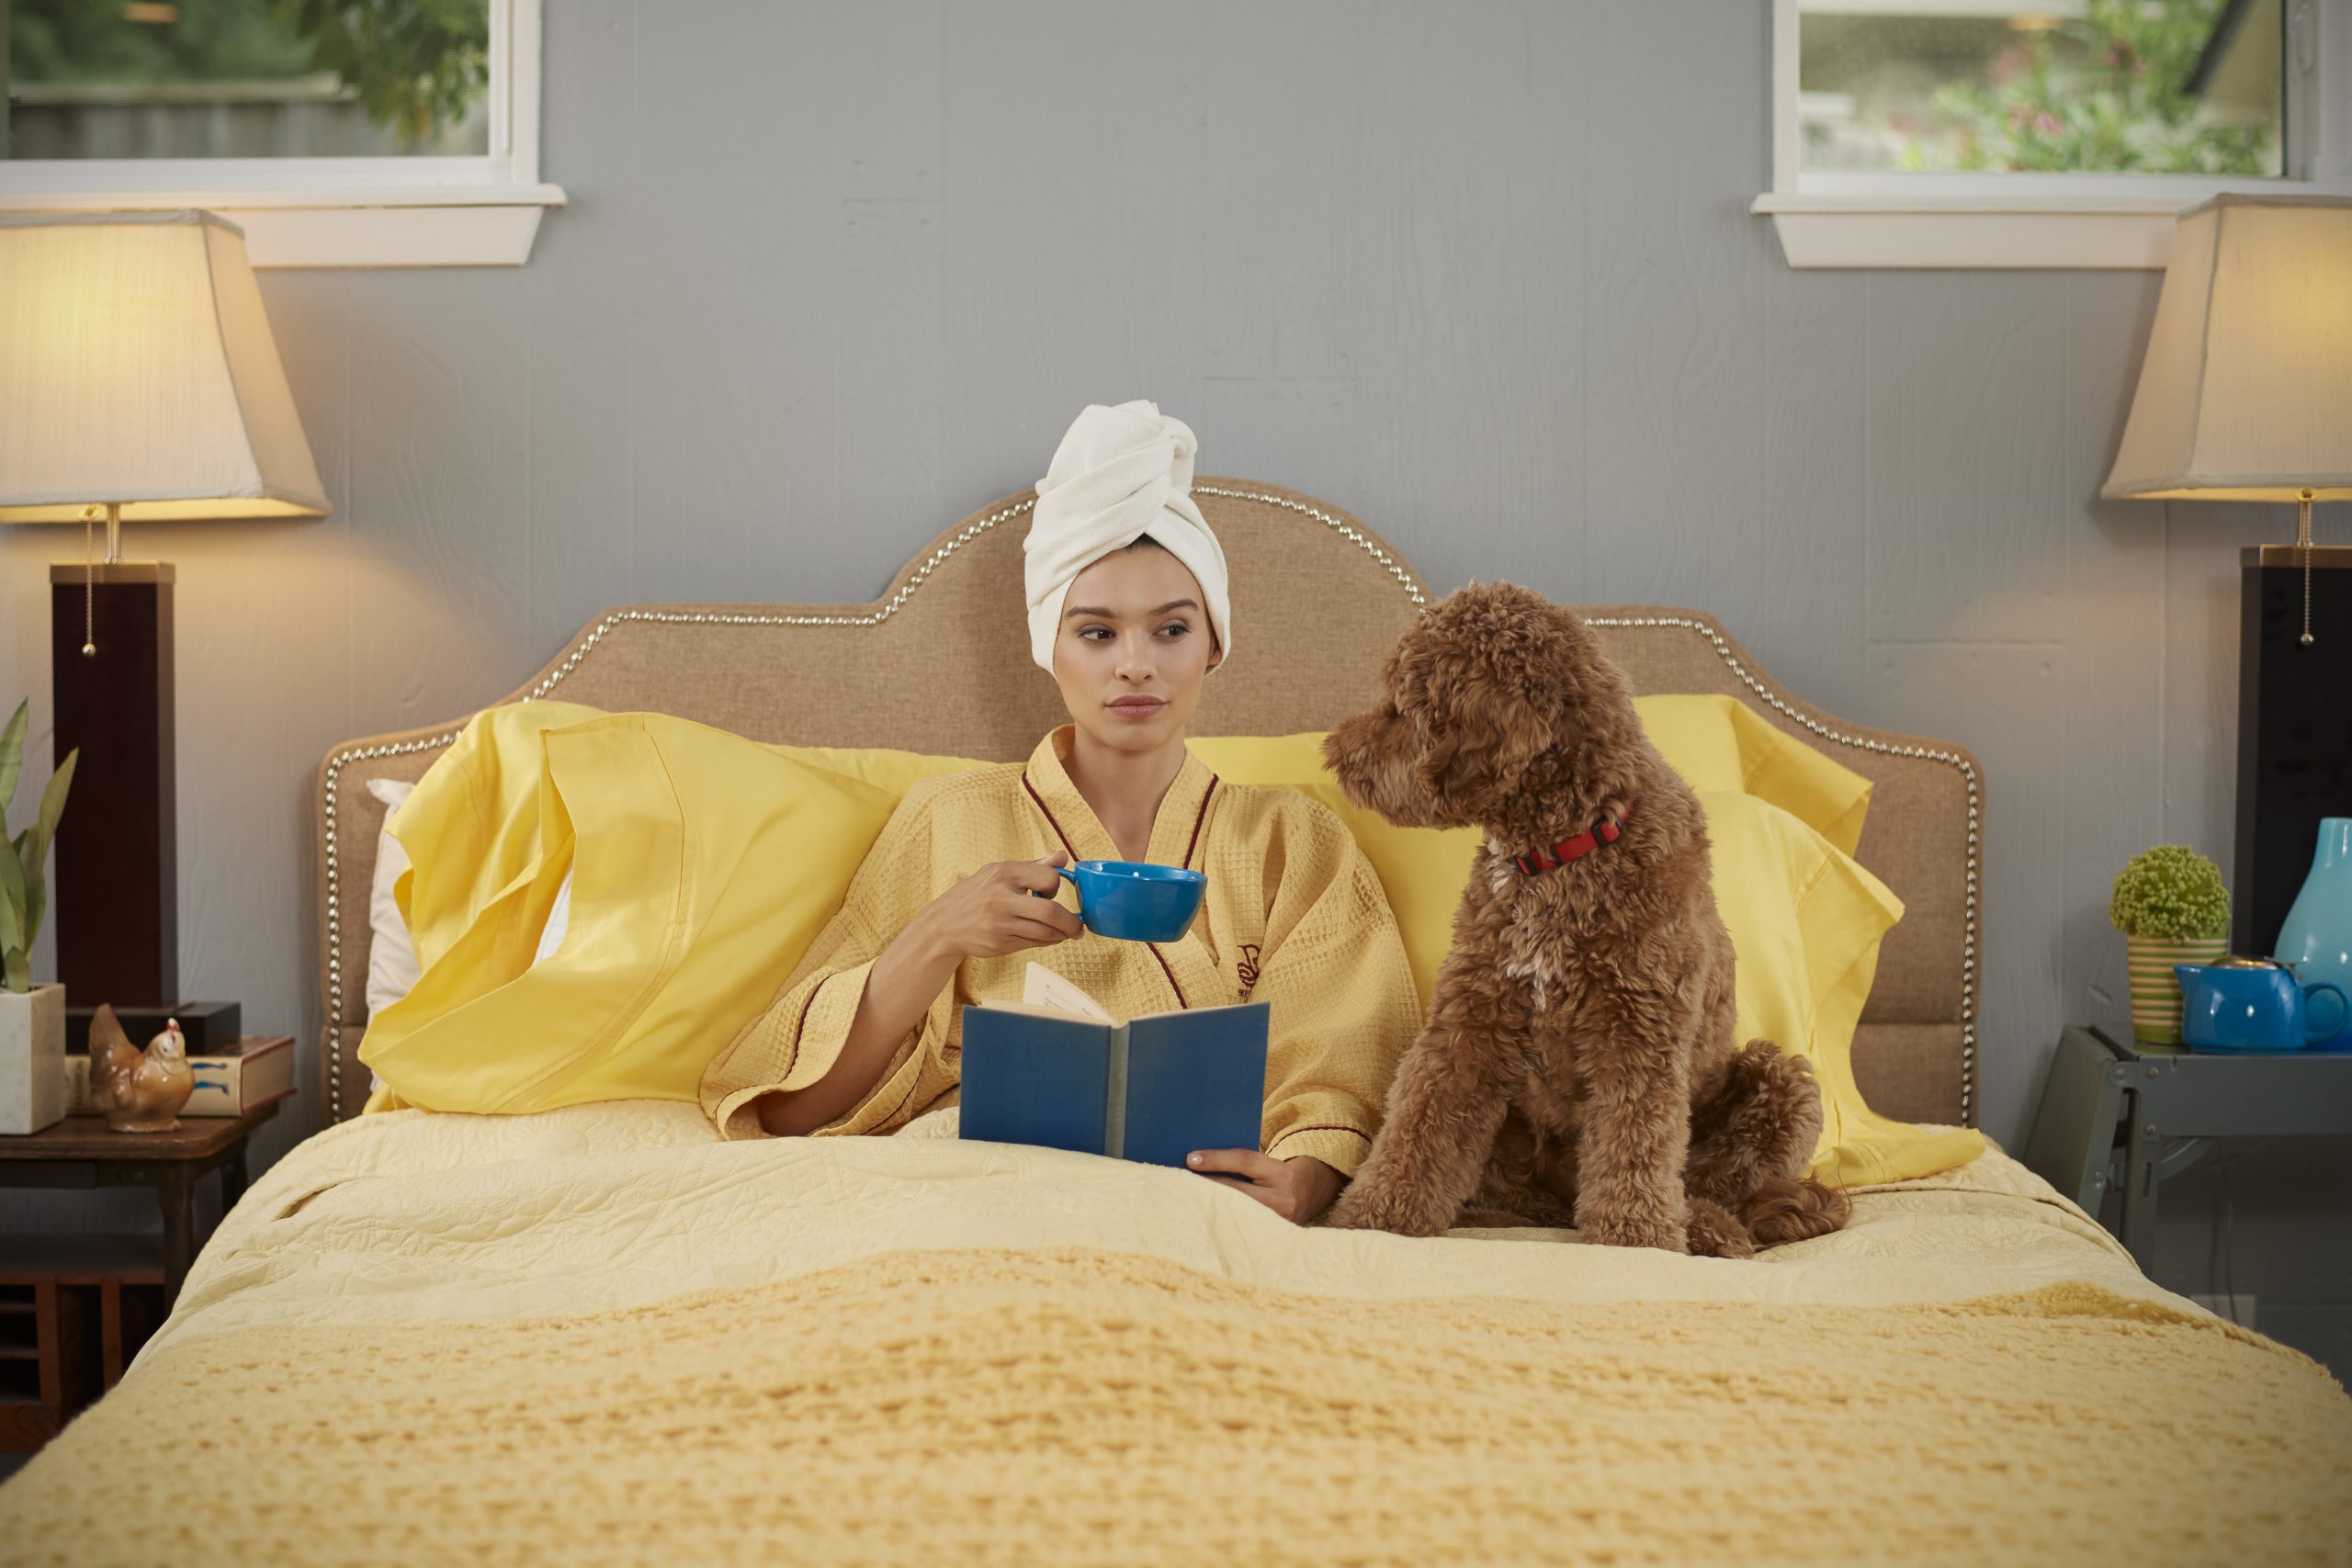
Charmi: Still life. I literally just pulled out all the fruit that I purchased before we entered quarantine so that I could photograph it. It’s especially easy if you’re just getting started. Otherwise, I would say documentary photography would probably be the next easiest thing, because then you could just shoot what’s happening in your house.
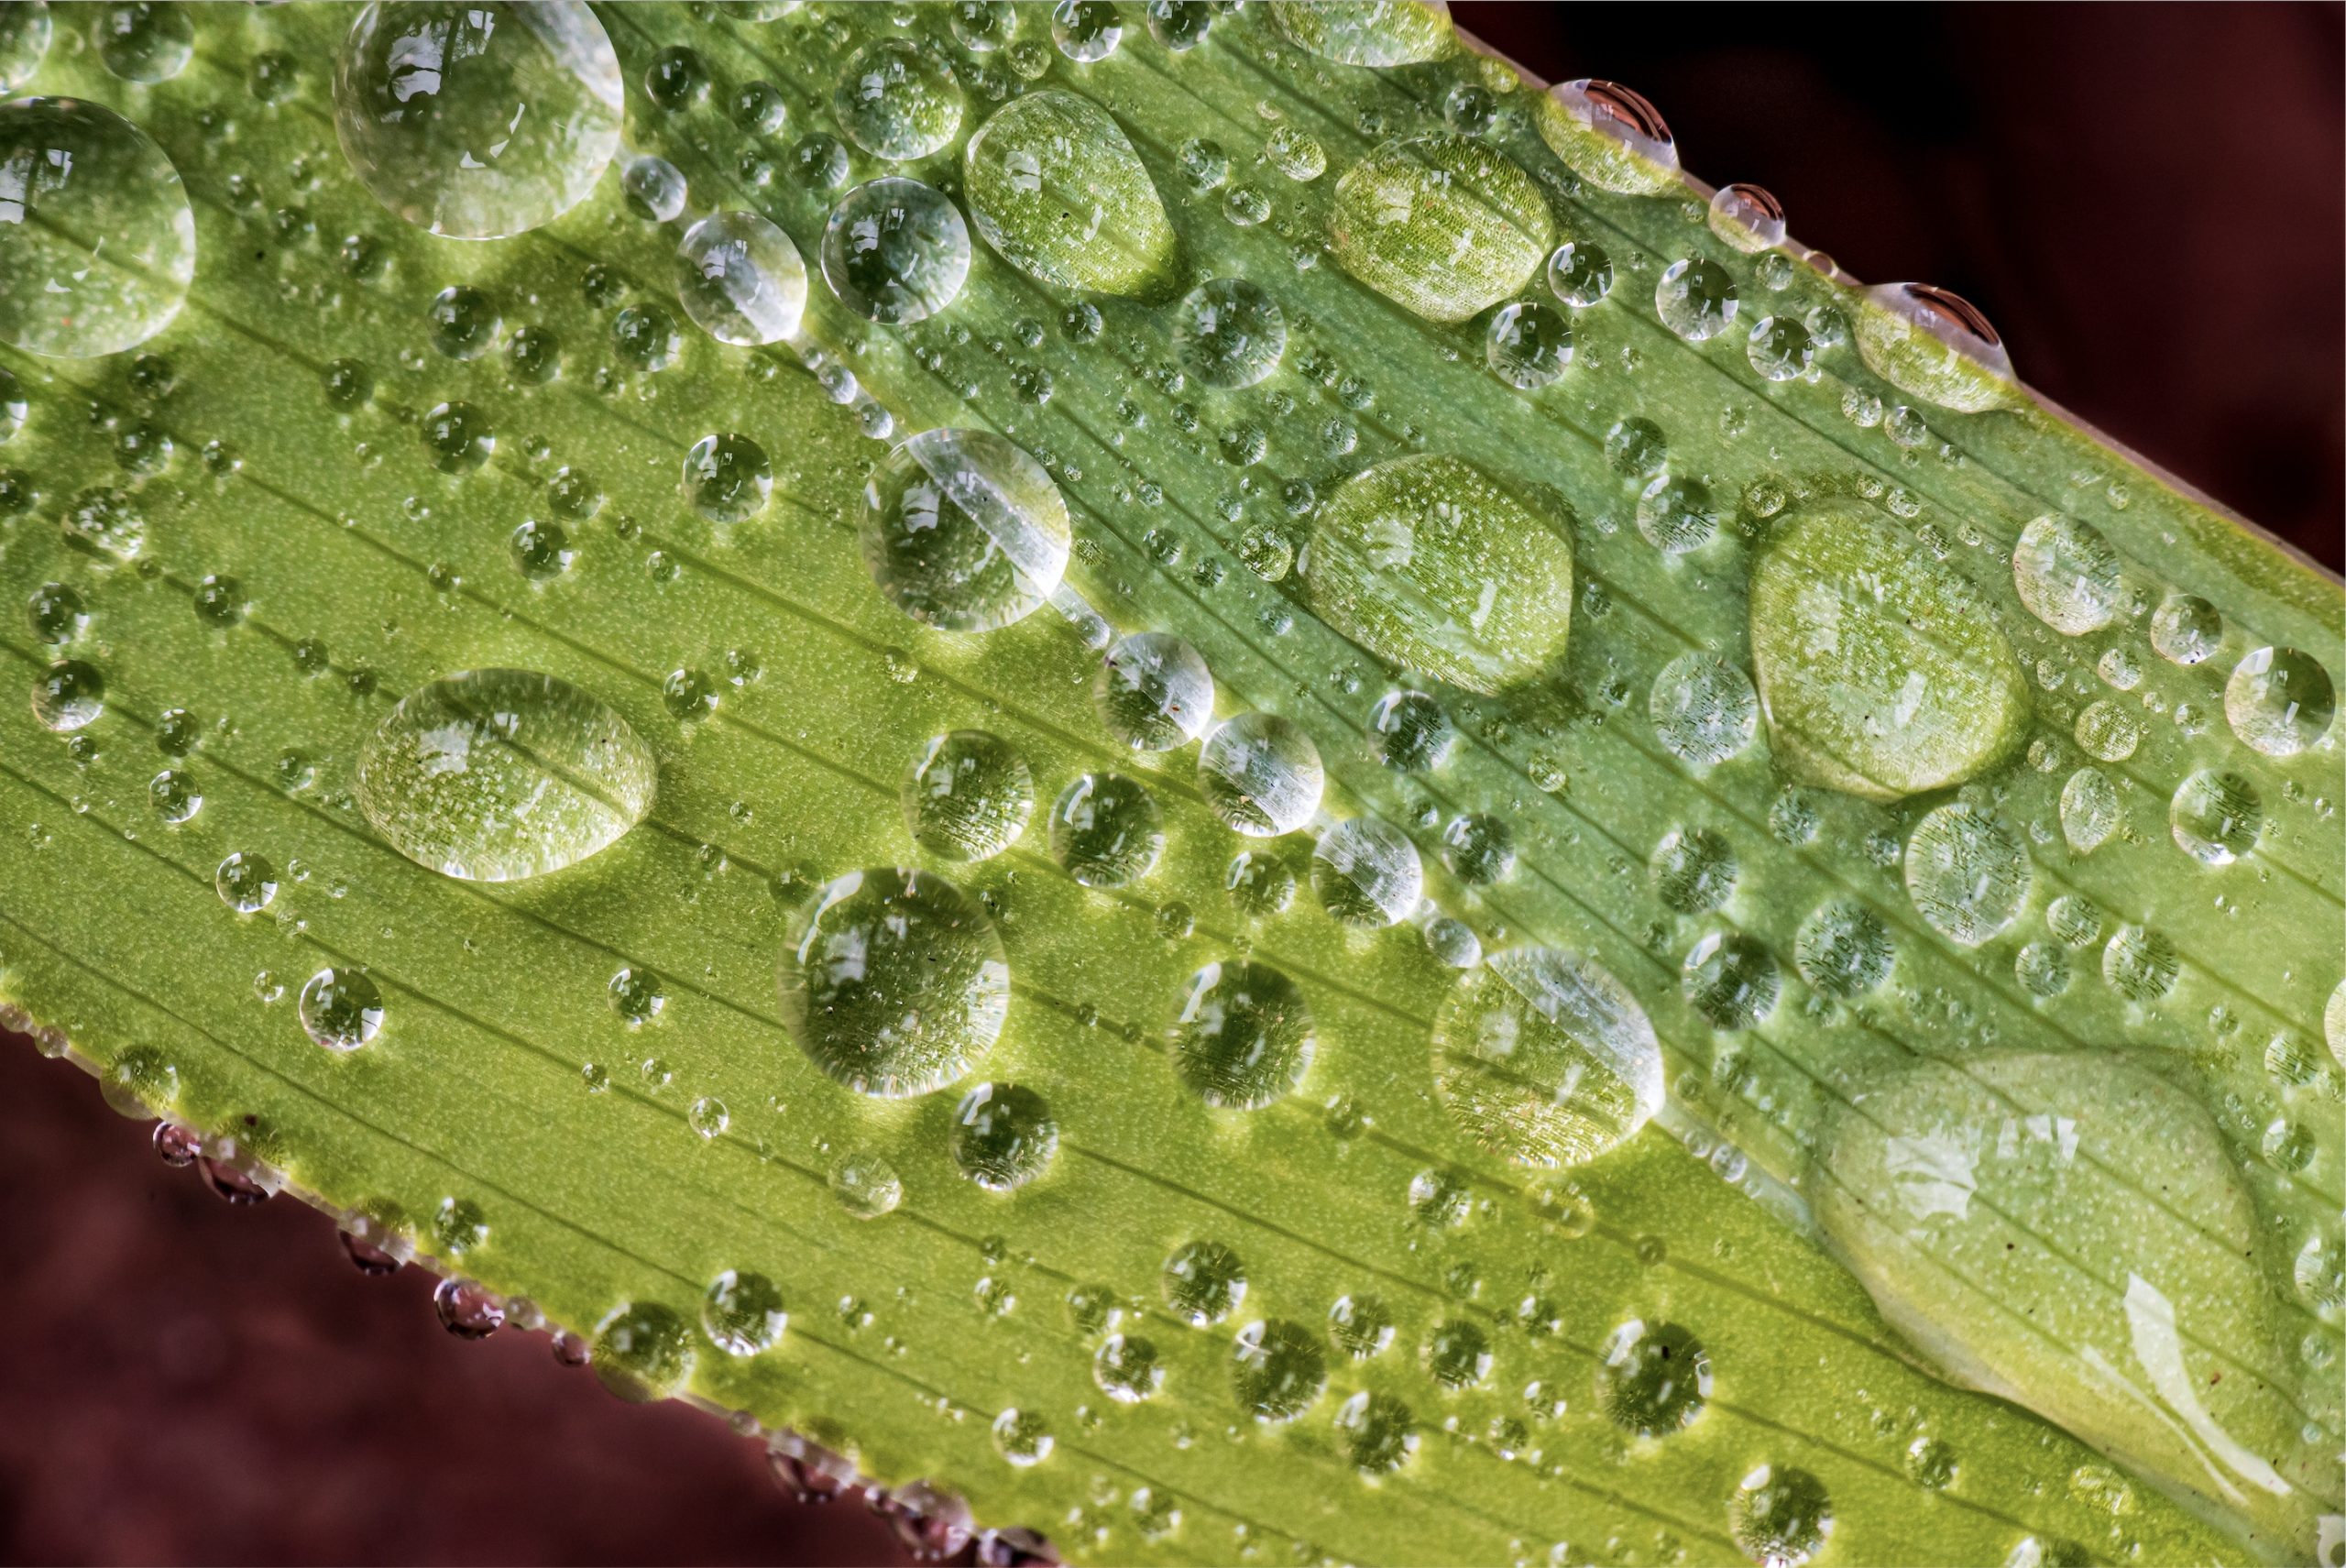
Thomas: I think for me, or at least what’s coming to mind right now, would be macro photography. Macro implies that you can get close to your subject, but it doesn’t need to be people. You can literally do things inside the house, outside the house. Plants. I guess the only caveat is that to get close you need a little bit more gear. If you don’t have those lenses, try portraits or food photography or something along those lines.
Dixie: Kids and pets are obviously some of the best subjects; and you can also utilize objects like flowers, water droplets, cookies. Grabbing flowers from your garden to make a cool headpiece for a cool self-portrait or something would be really fun. If you don’t have a kid or a pet, coffee in the morning always photographs really nicely with the window light.
What everyday household items might be converted to some good gear?
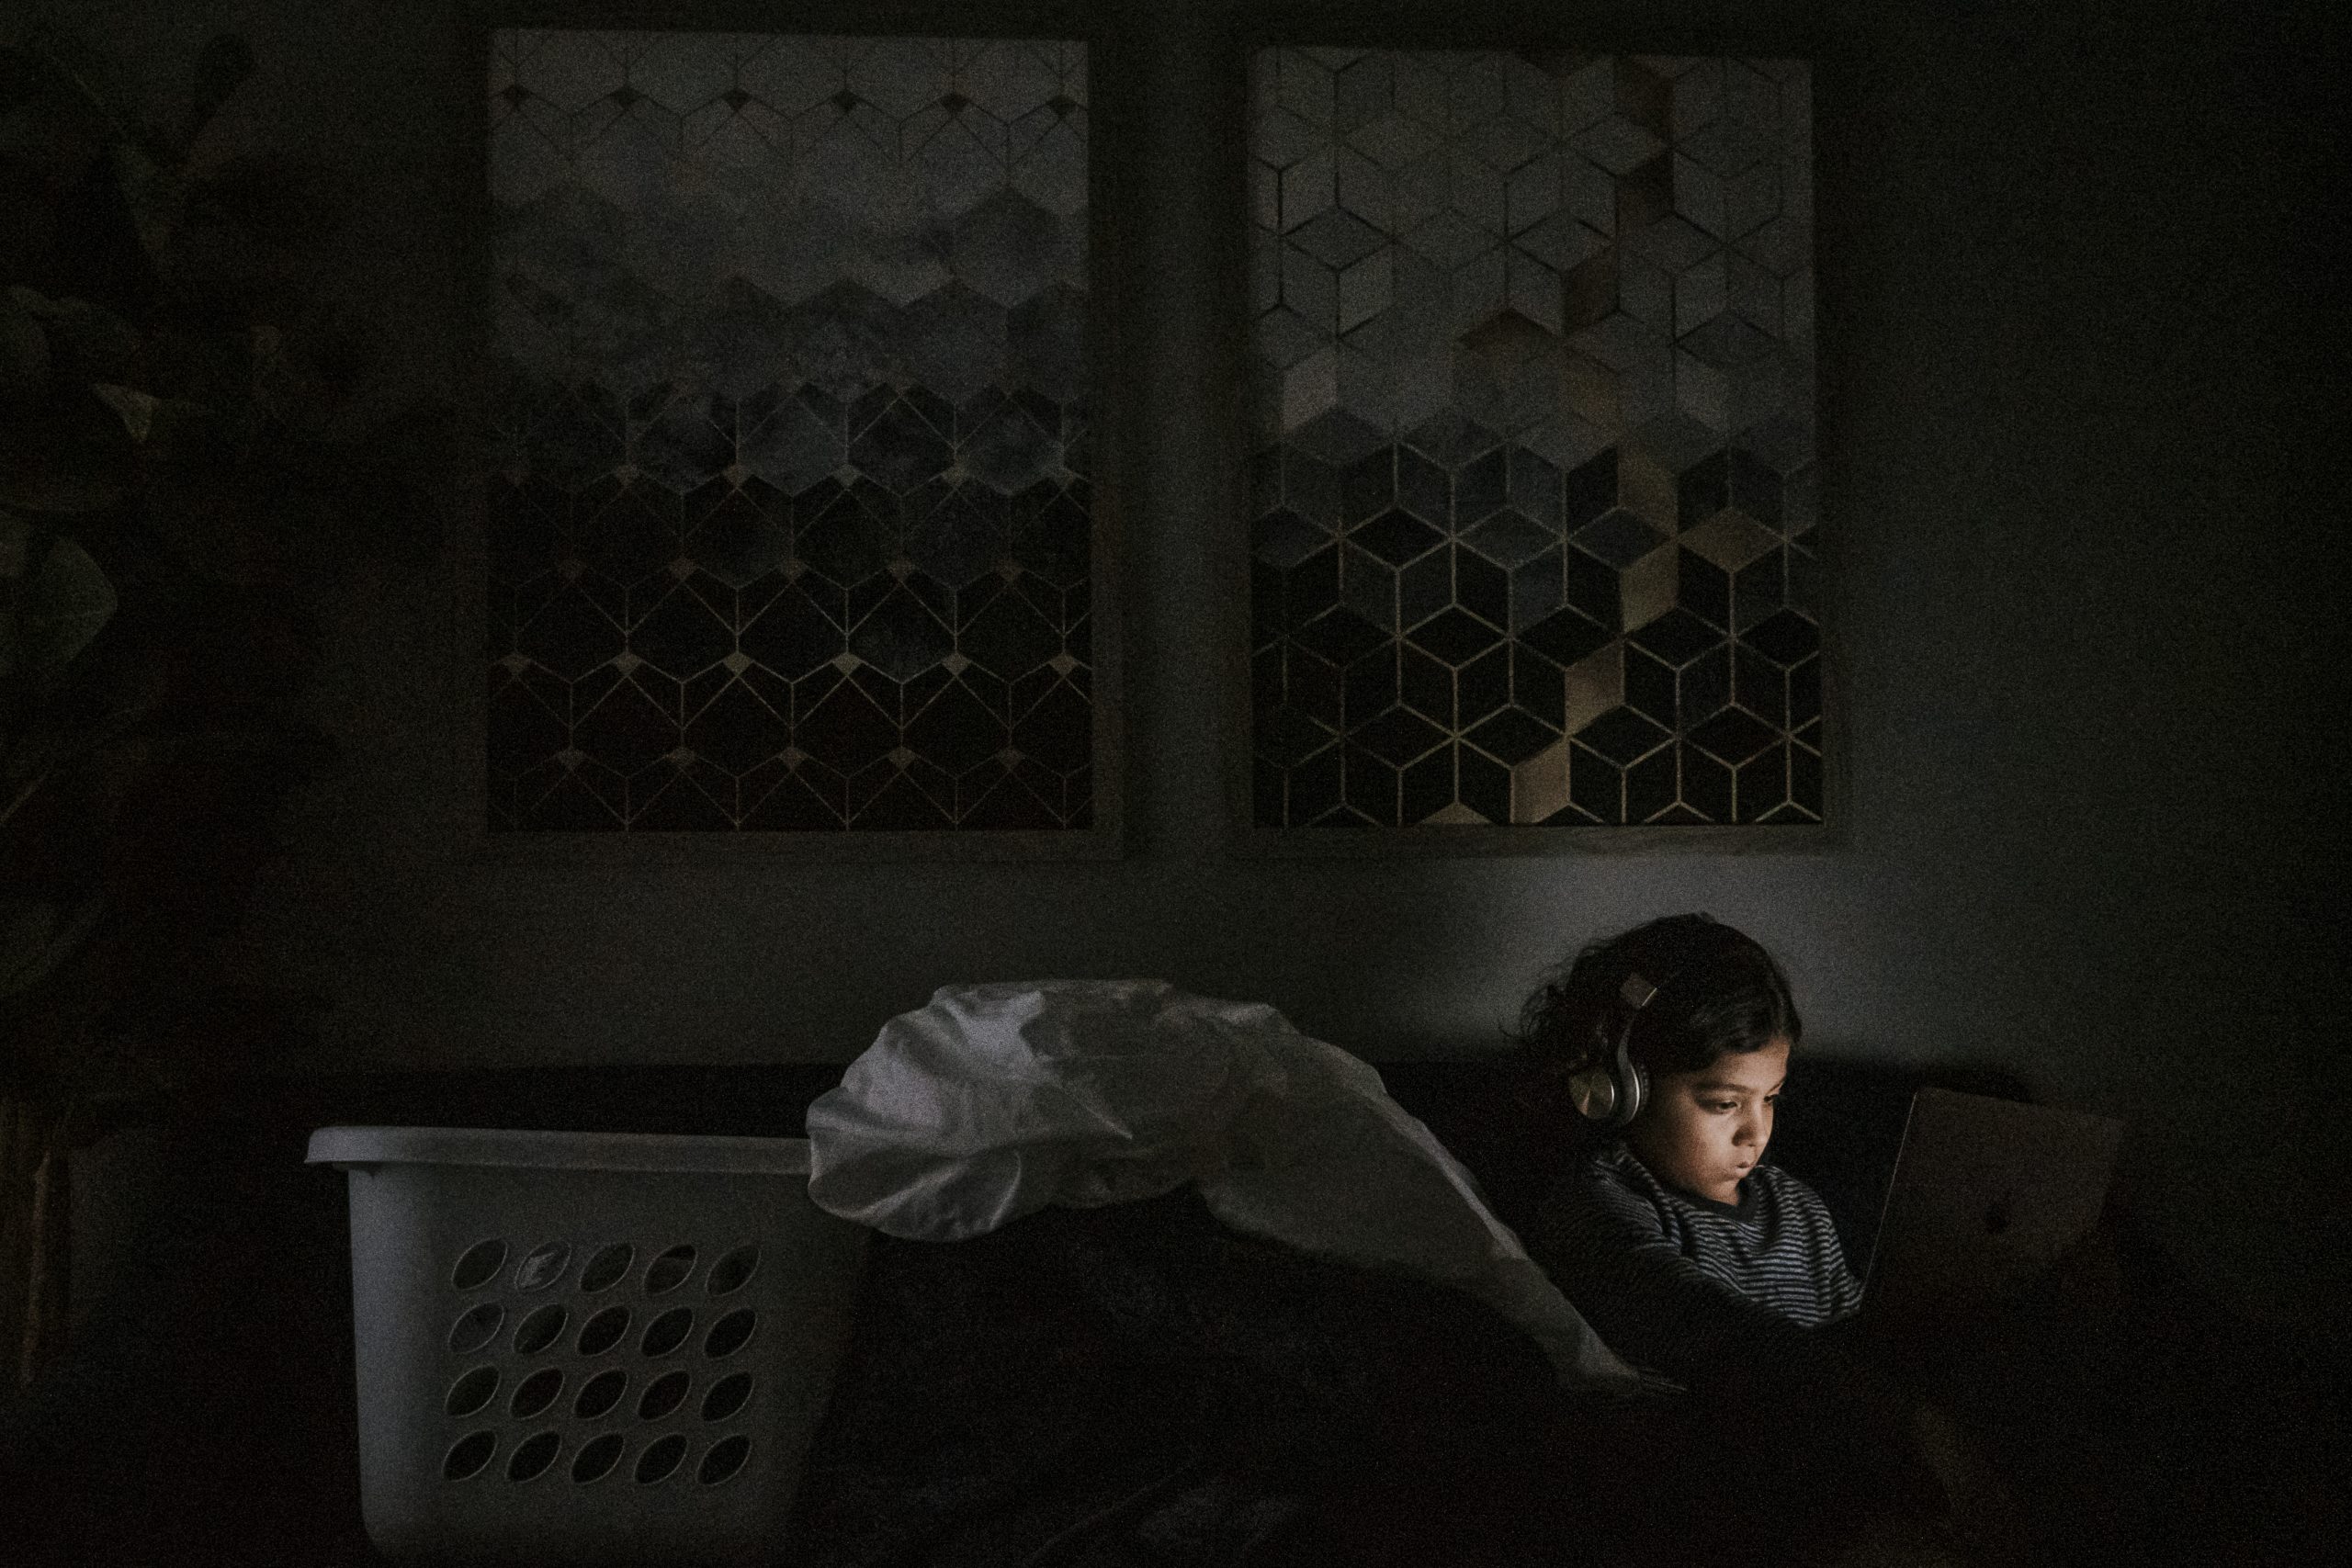
Charmi: I used my laundry basket earlier today as my tripod. Just because I didn’t want to go out into the garage to get everything. So I think literally any surface is a tripod in your house. I used a bungee cord from my garage to hang my camera from a pillar in my house at one point. So, yeah. Yeah, bungee cord, laundry basket, table. Maybe put a pillow under something if you’re bungee cording it. Be inventive but don’t break your gear.
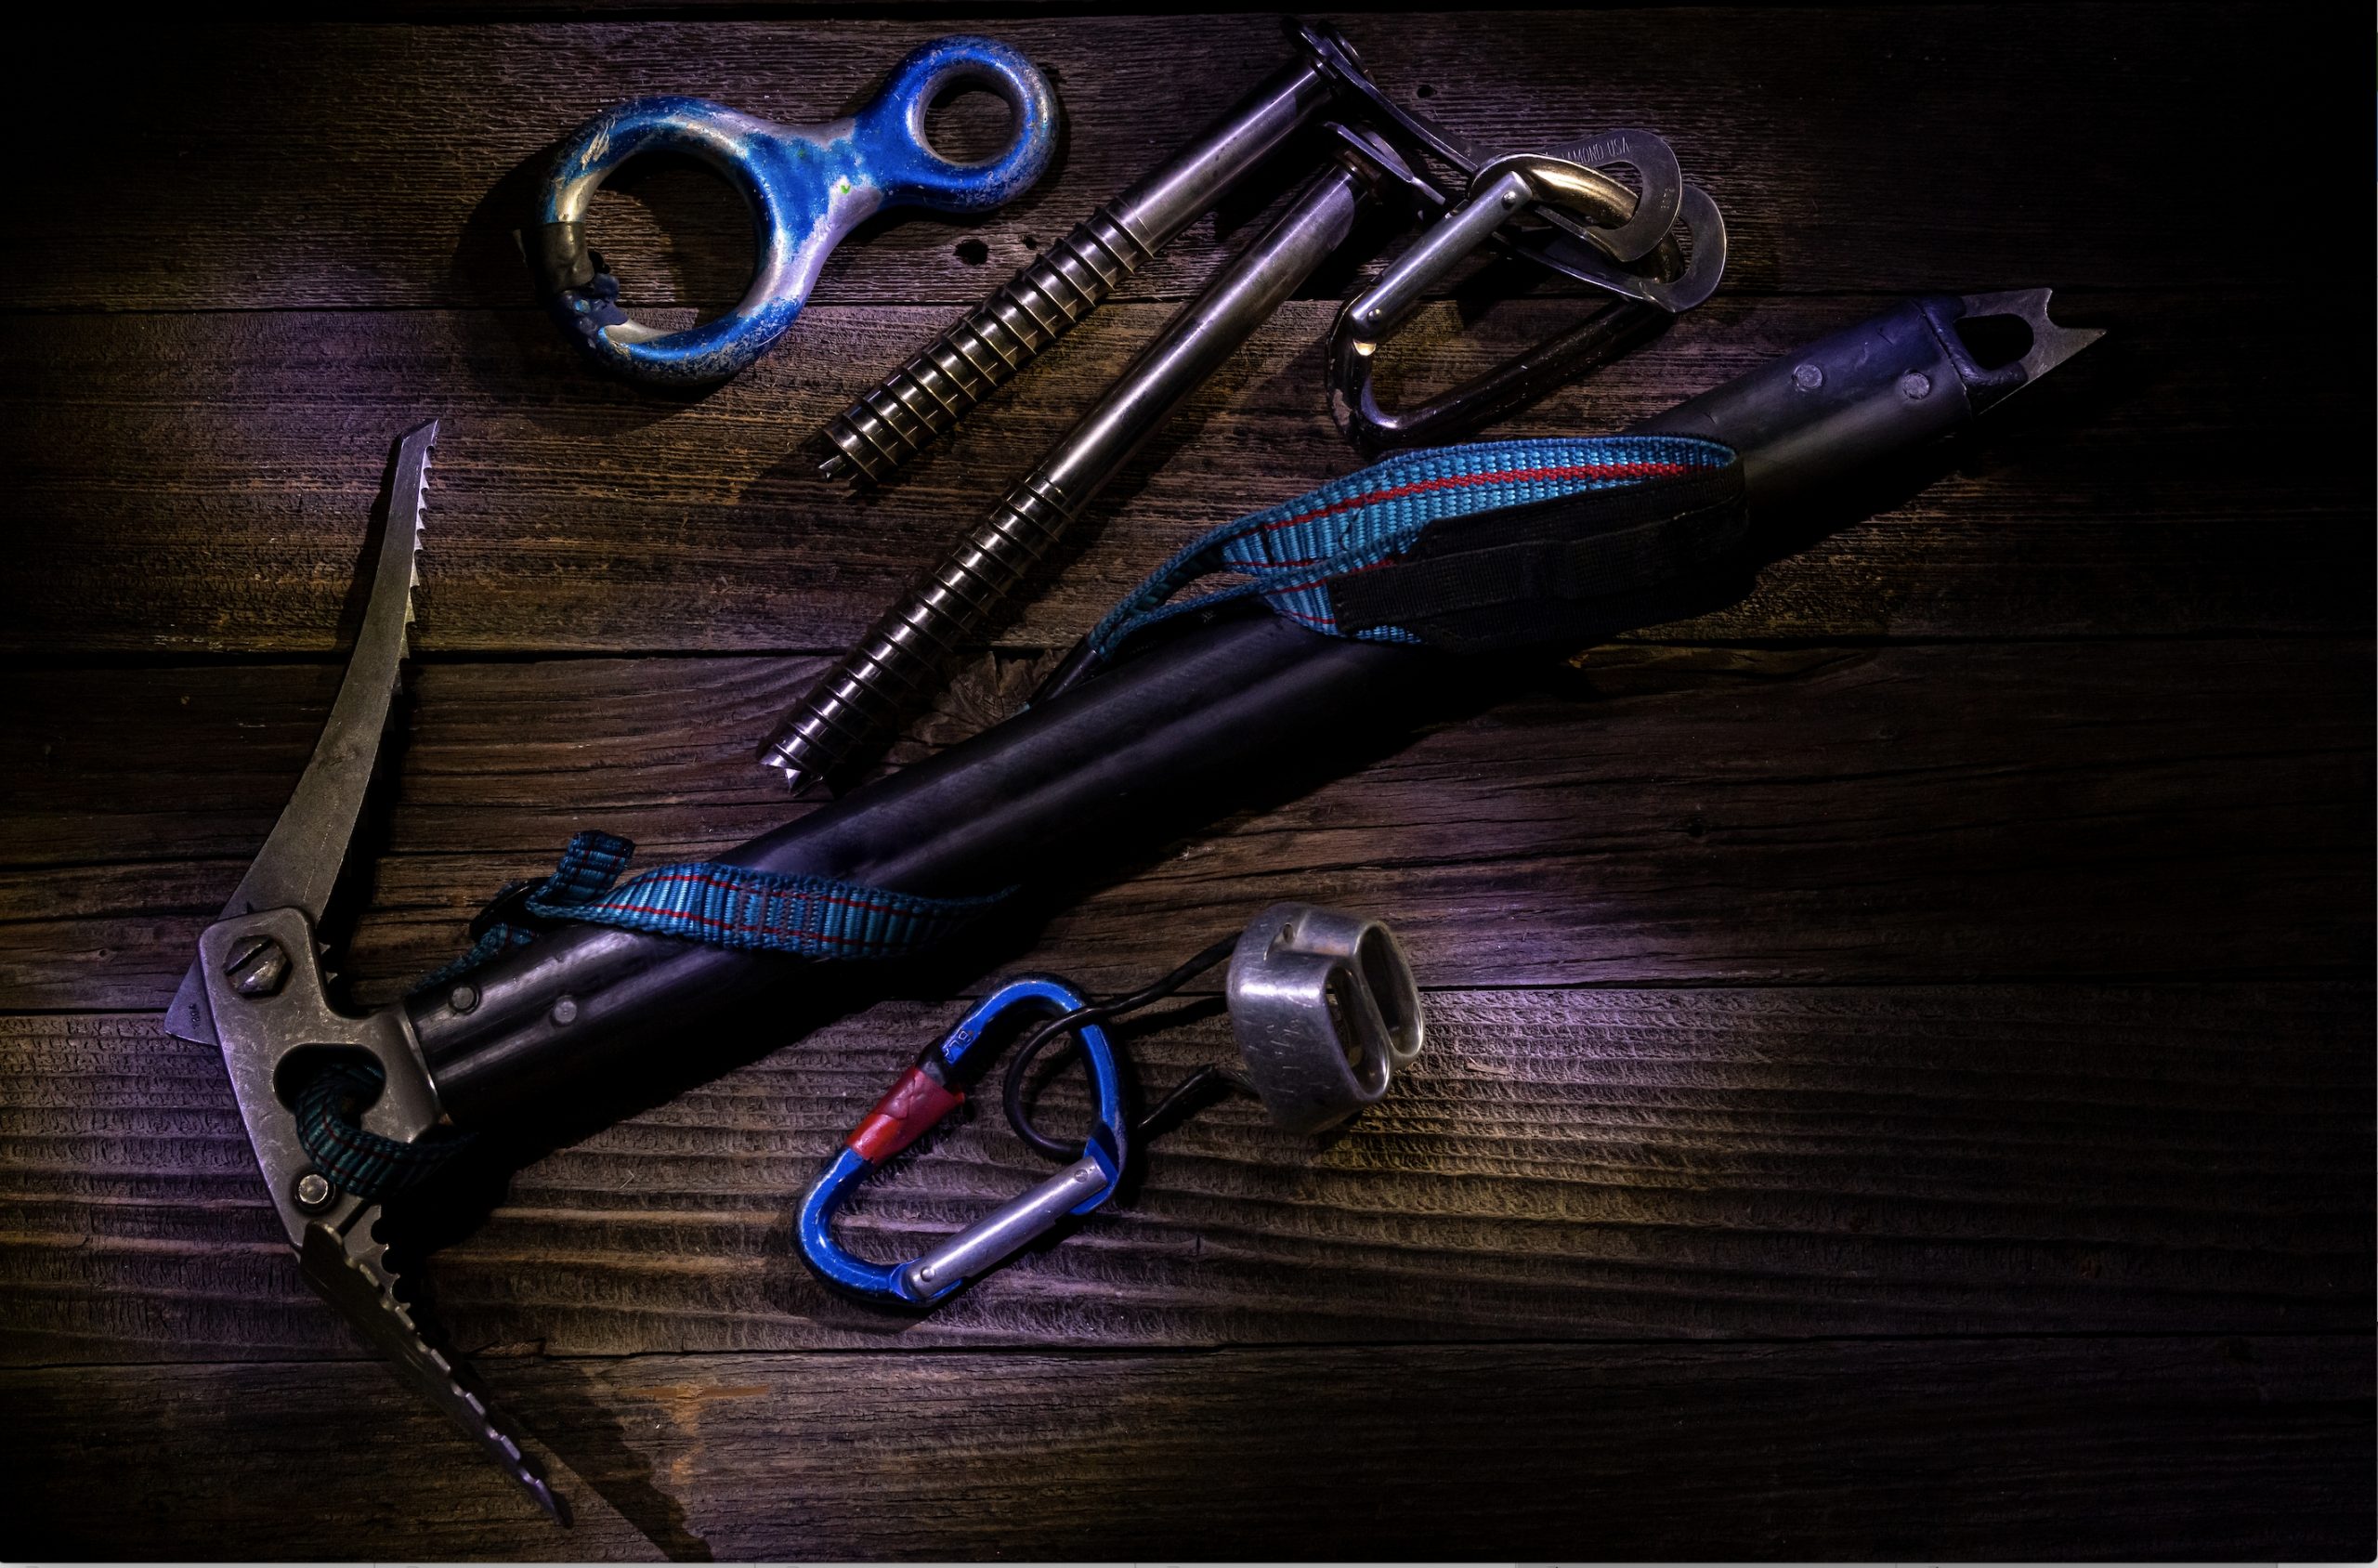
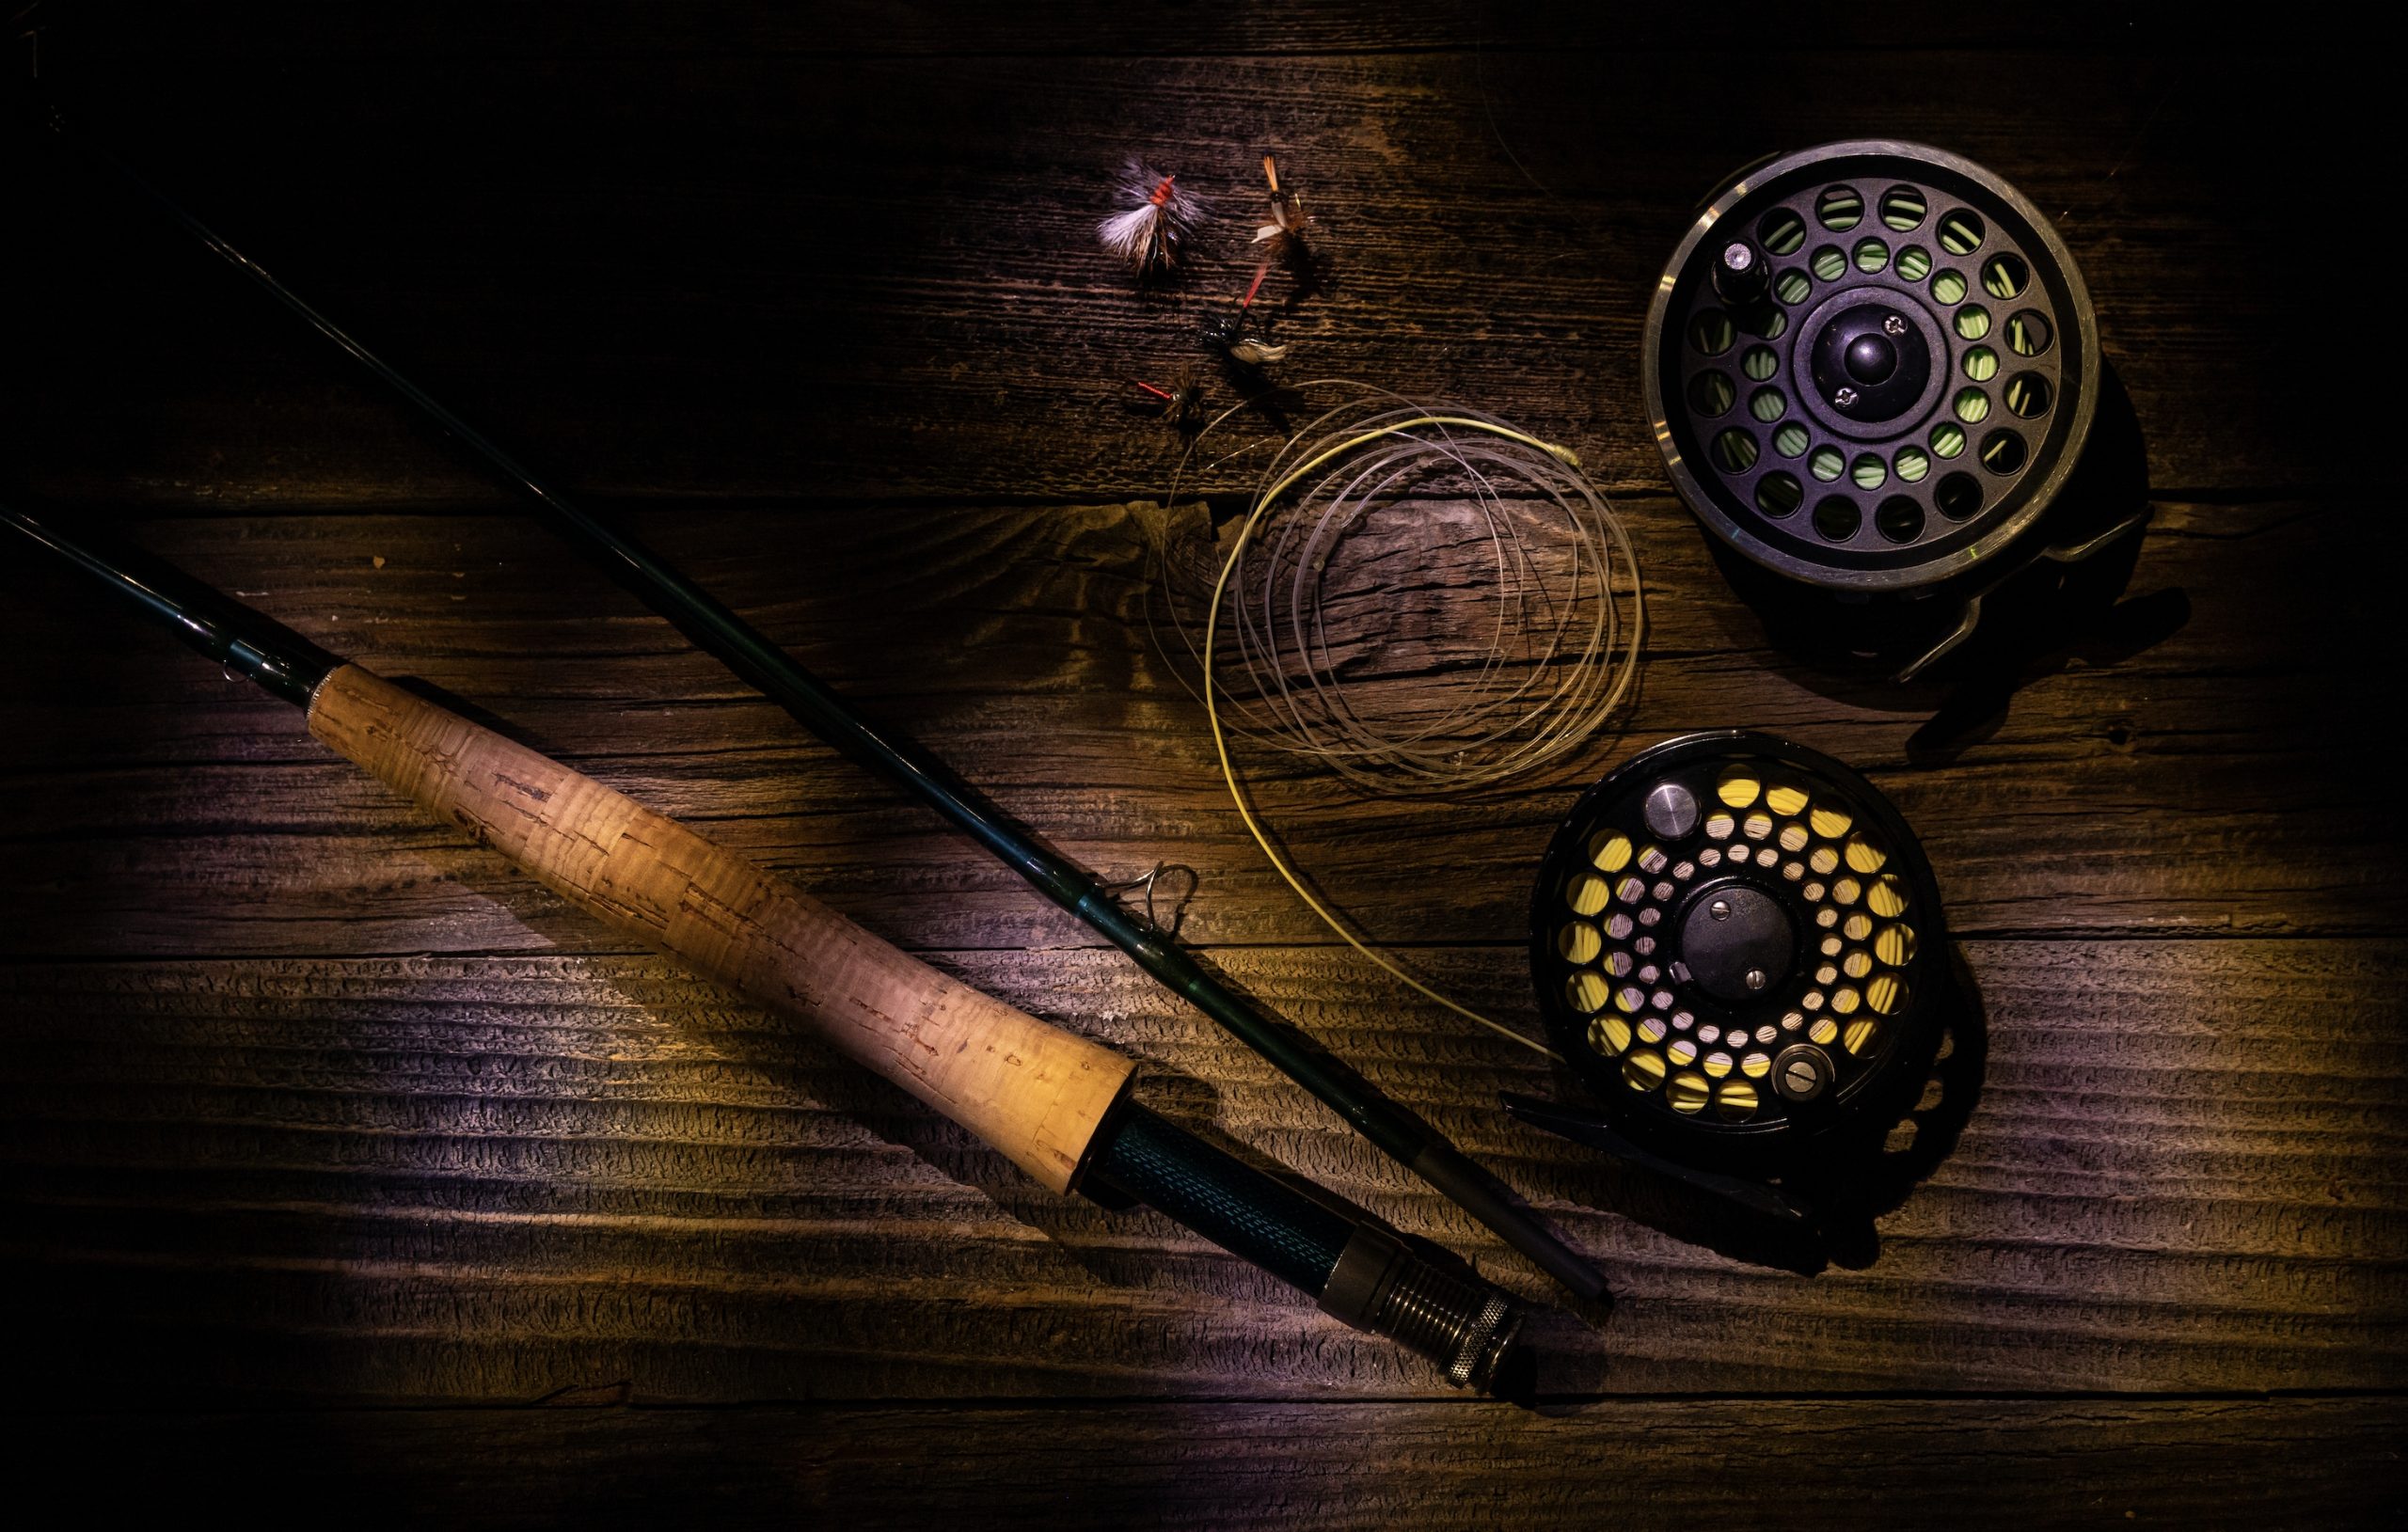
Thomas: I went into my garage and I found — I climb and fly fish and do all these outdoor activities– I found all these amazing small detailed things related to that — flies, leaders, hooks, carabiners, things like that. It started as a macro session and quickly evolved into a light painting session in a dark garage with a small penlight.
Dixie: If you take a frame, like a picture frame, and then take the back out of it, you can actually shoot through the glass of a picture frame and you can put Vaseline on the frame to create some really cool artsy portraits. Shooting through wine glasses looks really cool for some portraits. Utilizing the blinds of a window for interesting shadows. If you grab an old CD, I mean not many people have CDs anymore, but if you find an old CD you can actually make rainbow colors if you reflect the sun with it on your object or your portrait. And then also using old Christmas lights in the background of a portrait creates really beautiful bokeh.
What are some beginner lighting tips?
Charmi: I think if you don’t have a lot of light, it’s actually okay to embrace shadows and just highlighting what’s important in an image. For example, it’s the most horrible, rainy day today and so that’s why I took out the fruit — I just wanted something that I could photograph because I felt like I hadn’t been doing anything lately. And there’s not a ton of light coming in and I put all the fruit by the window and I’m just really accepting what’s coming through as window light, as little as I have. The key here is to understand shutter speed on your camera. And so if I was new, I would say put my camera in manual and then just play with your shutter speed in every image and that exercise will show you what you need to do to get the photo that you want.
Thomas: Go into your garage or in your house and make it dark. Wherever that room is, put your camera on a tripod and get the smallest flashlight that you own, and if you don’t own a small flashlight, then put a little tape over the front of the light to make it a smaller beam. Set your exposure for 30 seconds, ISO around 1000 and 5.6 and put, whether it’s forks and tableware, cutlery, anything like that, or maybe you have some hobby that involves some other things that I can’t even think of. Then just try a shot where you put all that stuff on the kitchen table or out on the garage bench, hit it with the flashlight from a perpendicular side angle and see what the picture looks like.
The beauty, of course, with digital is you get instant feedback on the LCD. The first ones are probably not going to look great and that’s what we all do when we’re learning to light with a flashlight. The cool part about all this is, we’re not talking speed lights or bigger strobes or anything. Almost everybody has a flashlight and now they got to have a tripod, but most photographers will have a tripod and then your camera, and that’s all you need. Then you just got to experiment a lot to try to figure out what looks good.
Dixie: One of my favorite kinds of light is just natural window light. If I was going to create some portraits inside, it’s always nice to find windows that face the north or south because it provides a really consistent kind of lighting throughout the day. It’s just really soft and it’s really diffused.
But if you want to create more dramatic kind of portraits, you might use east or west-facing windows because the light’s going to stream through and create really harsh shadows to create that really dramatic type of lighting. Where you position your subject has a huge impact on what the picture will look like. For instance, if you place your subject facing the window and you have your back towards the window, shooting into your subject, that’s going to create a really soft and beautiful portrait. So that’s a really great way to light women. We actually use this type of lighting a lot in fashion shoots and stuff like that because it just has a really soft look.
Then if you position your subject with the window to the side of them, that’s going to bring out all the texture in your subject. So, that’s really better for males because they look cool all rugged and more textured. Then you can also add a reflector on the side, say you are shooting a woman, to kind of bounce some of that light back into your subject. Then also you can create some really nice silhouettes if you stand… or you placed your subject against the window and then you’re shooting into the window you create some cool silhouette shapes.
Basically, the bigger your light source, the softer it’s going to be. So one of the greatest rooms in your house is to actually utilize your garage. Basically, the garage is like a big light source. If you open the garage door and then you place your subject just inside and you stand outside shooting in, you can create some really amazing fashion portraits and stuff like that.
If you want to get super moody, like at night time, you can utilize candles. Candles are a really cool light source. You could also utilize flashlights, instead of having them shining right on the subject, I like to bounce it on a white piece of paper or white cardboard and then back into my subjects cause it creates a softer type of look. And then with lampshades, you can actually take the lampshade off the layout and utilize the bare bulb for a very nice portrait; just hold it slightly above your subject, get as close to your subject as you can without it being in the frame. So, those are kind of some of the basic lighting you can utilize at home.
What are some in-camera tips or tricks that people can use to take more interesting photos or to experiment? Obviously, this is going to be different depending on what camera a person is using, but I’m talking basics.
Charmi: If we’re just trying to make artsy, fun images while we’re learning, I think using household items as the foreground is really fun. Like using a glass from your kitchen and shooting through it or shooting through the edge of it or using it to make a reflection. You can use your iPhone to make a reflection. I do that all the time. Just use your household items and use them as foreground and background and just play with the different effects that different materials will give you. A copper pot is going to give you a very different effect than a clear glass. A lit candle is going to be something else that if you shoot through, you’re going to see something that you didn’t see when you were just looking at it, the camera sees some really cool stuff.
Thomas: Some photographers work in raw, some work in JPEG. What I would tell folks is experiment with different white balance settings and experiment with different depths of field, which is going to be controlled by the aperture setting.
You could literally take one object or say you’re looking at a flower in the front yard or a tree or whatever and from the same position, shoot the same subject and go through every aperture setting your lens offers and look at the difference on the computer with the background and just the overall mood and feeling that’s created simply by changing the depth of field and the background. I think that’s a very fundamental thing that everyone with a camera can try. A lot of people really don’t ever have the time to do an experiment like that, and it’s so important when you’re in the field.
Dixie: Gear wise, the Nikon Z50 is my favorite camera right now for a beginner. That’s what I’ve been telling everyone. Basically you can do all these different settings in-camera. I love creating in-camera black and white, but you can just go to picture control and click “monochrome” and create some really beautiful black and white pictures in-camera and then just send it to your phone using the SnapBridge. When I’m shooting, I always like to shoot raw because then that gives you a lot more leeway in the editing.
If you’re not a master at settings yet, a great way to set your camera is to shoot aperture priority. Basically, set the aperture to the widest possible that your lens has. So, I would set it to F2.8 and then that’s going to create that beautiful look where the eyes are really a tad sharp, and then the rest of the photo just falls out of focus really nicely. I love aperture priority because it basically just sets everything for you and you choose the aperture.
Another fun thing to play with is double exposure in-camera. With the Nikon Z series cameras — like the one I shouted out above — you shoot a picture and you can click “double exposure,” multiple exposures, and it’ll show the image that’s laid on top of the other image. That’s really fun to play with for portraits to create some really creative effects in-camera.
What’s a good at-home substitute for a seamless or a reflector?
Charmi: A blank wall is good for a seamless. For a reflector, I would say poster board or even tape some white pieces of paper together and then your good. You have some printer paper, you tape it together. Try to use matte tape if you can instead of shiny tape so that you’re not completely skewing the reflection, but I would definitely say putting pieces of white paper together would do the trick.
Thomas: I got the best one. It’s simple. Get out tinfoil and put it around an 8.5 x 11 magazine, and you now have a small little silver reflector that works terrific for flowers, pet portraits, anything like that. It works like a charm. When I first started shooting, oh so many years ago, that’s how I first started. I had all this old cardboard, so I just wrapped it in tinfoil, taped it up, and then I had these great silver reflectors.
Dixie: Something that really makes a great reflector is insulation board. But you can use that as a nice reflector. We actually use those on set quite often, the insulation boards, and it’s a really nice reflector for portraits and things like that.
What ISO should we be aiming for with indoor photography?
Charmi: Modern cameras are so amazing that even when I’m shooting professionally, I would say that I try to stay under 2,500. But I will tell you, shooting in my house right now and photographing my kids do their homework and my husband do his job and just like I said, apples and bananas, I am letting that ISO range kind of do what it wants to do. So under 2,500 if you really care about the grain, but I’m kind of letting the grain… I think we’re in the kind of situation right now where letting the grain be what it is, is also speaking to the mood that we maybe are in. So I think it’s okay to just embrace the range that your camera offers you.
Thomas: it’ll certainly depend if you have good window light or not. But indoors, you’re probably already starting at 800, and if it’s just a room lit by incandescent lights and overhead lights, they’re probably closer to 1600 on the ISO. The beauty of it is, all the cameras these days, the new cameras, they do so well with ISO performance that 1600 is not the end of the world. If there’s no window light in their room, then they’re probably going to need that just as a starting point.
Dixie: I feel like it used to be you wanted to stay, back in the day, stay at like 200 or 400, but now you can go pretty high. I mean, for indoor type of photography you could go to 800 or 1000 ISO and still be okay, and it’s going to look super crisp. It’s really amazing just how little light you need to make amazing portraits these days.
Do you have any portrait taking tips?
Charmi: My big one when we’re taking portraits is I’m not personally a fan of mixed light. That is very up to everybody’s taste. But personally I think that if I was new and learning to take portraits, the first thing I would do before I would mix light is just turn off anything that doesn’t match so that you’re only dealing with one source of light. Start with one source of light and then you can add other sources of light later. But if you’re just getting started with a portrait, I would stick with one source of light, see how you master that and then you can add more after.
Thomas: I think to really get the shot that is really evocative and really shows the connection between photographer and portrait person, even if that person — the model… I hesitate to say that — it’s going to be a friend or a family or a kid or something like that if we’re not bringing in people from the outside. I think the trick is, before you even bring the camera up, you engage. Your son or girlfriend or whatever it may be, they may hate having their photo taken. So, the end goal is to make a really evocative shot. My mode of operation, whether it’s somebody on the street or a friend or a paid model, is when I first start, the images are never that great.
It’s like you just are trying to get into that zone where you’re at that level where they’re comfortable with you, you’re comfortable with them, and the same applies to very familiar people. So, I just talk to folks and let them see the picture, show them the LCD, just kind of try to really relax the situation out. I think then, even in available light or just being lit by an incandescent bulb, you can find a great photograph of a family member that is going to probably shock just how good it can get. I think we’re all relearning a few things here with all this time on our hands going, “Wow, I’ve done that in the past, but this looks really good. Look what I can do at home.”
Dixie: Composition is really fun to play with, and positioning your subject to the right or left-hand side of the frame, leaving negative space; practicing with more centered type of portraits. I like to get to a higher angle and then shoot slightly down on my subject, especially for beauty headshots, because whatever is closest to your camera is going to appear larger. So when we shoot from that higher angle, the eyes are closer to the camera. And so it really brings out the eyes of whoever you’re shooting, which is really beautiful.
Lighting is so huge; just having that beautiful window light. Natural light is probably the most beautiful kind of lighting you can use on people. If you’re shooting outside, you don’t really want to shoot portrait during high noon because you’ll get those ugly raccoon shadows underneath their eyes.
Also, play with different expressions. Like, when I photograph, I tend to shoot through moments, so I’ll shoot a lot more images than I need just to get that supernatural type of look where they look like they’re connecting with the camera. If their eyes are super sensitive to the sun, you might have them close their eyes and then kind of look up towards the sunlight or the window or whatever it is and then have them open it on three and that’s going to make their eyes look super bright in the frame and be super open and not squinty.
… Any self-portrait tips?
Charmi: I’m letting my mood guide me. If I’m having a really good day, then I’m letting myself set up a happier, brighter photo. And if I’m having a grumpy day, I’m accepting that the photo may convey a little bit of mood and darkness and that’s okay. I think with self-portraits you have the opportunity to get as creative as you want to get and it doesn’t always have to be of your face. It could be of your feet, of your fingers, of yourself hiding under your blanket in bed. It doesn’t matter.
So let your mood guide you. And then circling back on a technical front, just use what you have for settling your camera. If you don’t have a tripod, that’s okay. Set the timer on your camera and put in on your kitchen island or put it on your couch. Do whatever you have to do. You don’t need all that stuff right now.
Thomas: That is not my expertise! I’ll throw this out. So, I was a journalism major about a million years ago, and one of the projects I remember doing in journalism school and I still bring this up when we do portrait stuff is, do an implied portrait. In this case, it’s going to be an implied selfie. And so what that means is, the selfie can’t be actually your face, the camera can’t be pointed at you, but it can be pointed at a mirror that reflects you, or it could be your silhouette created by a lamp and the shadow that you project on a wall. Or in its most basic form, maybe it’s things that you use every day like if you’re an older person, you have a cane or maybe your glasses or even your cell phone. These are the things that are really my identity, but it’s not actually me. I like the idea of the implied portrait and seeing on a creative level where that goes with folks.
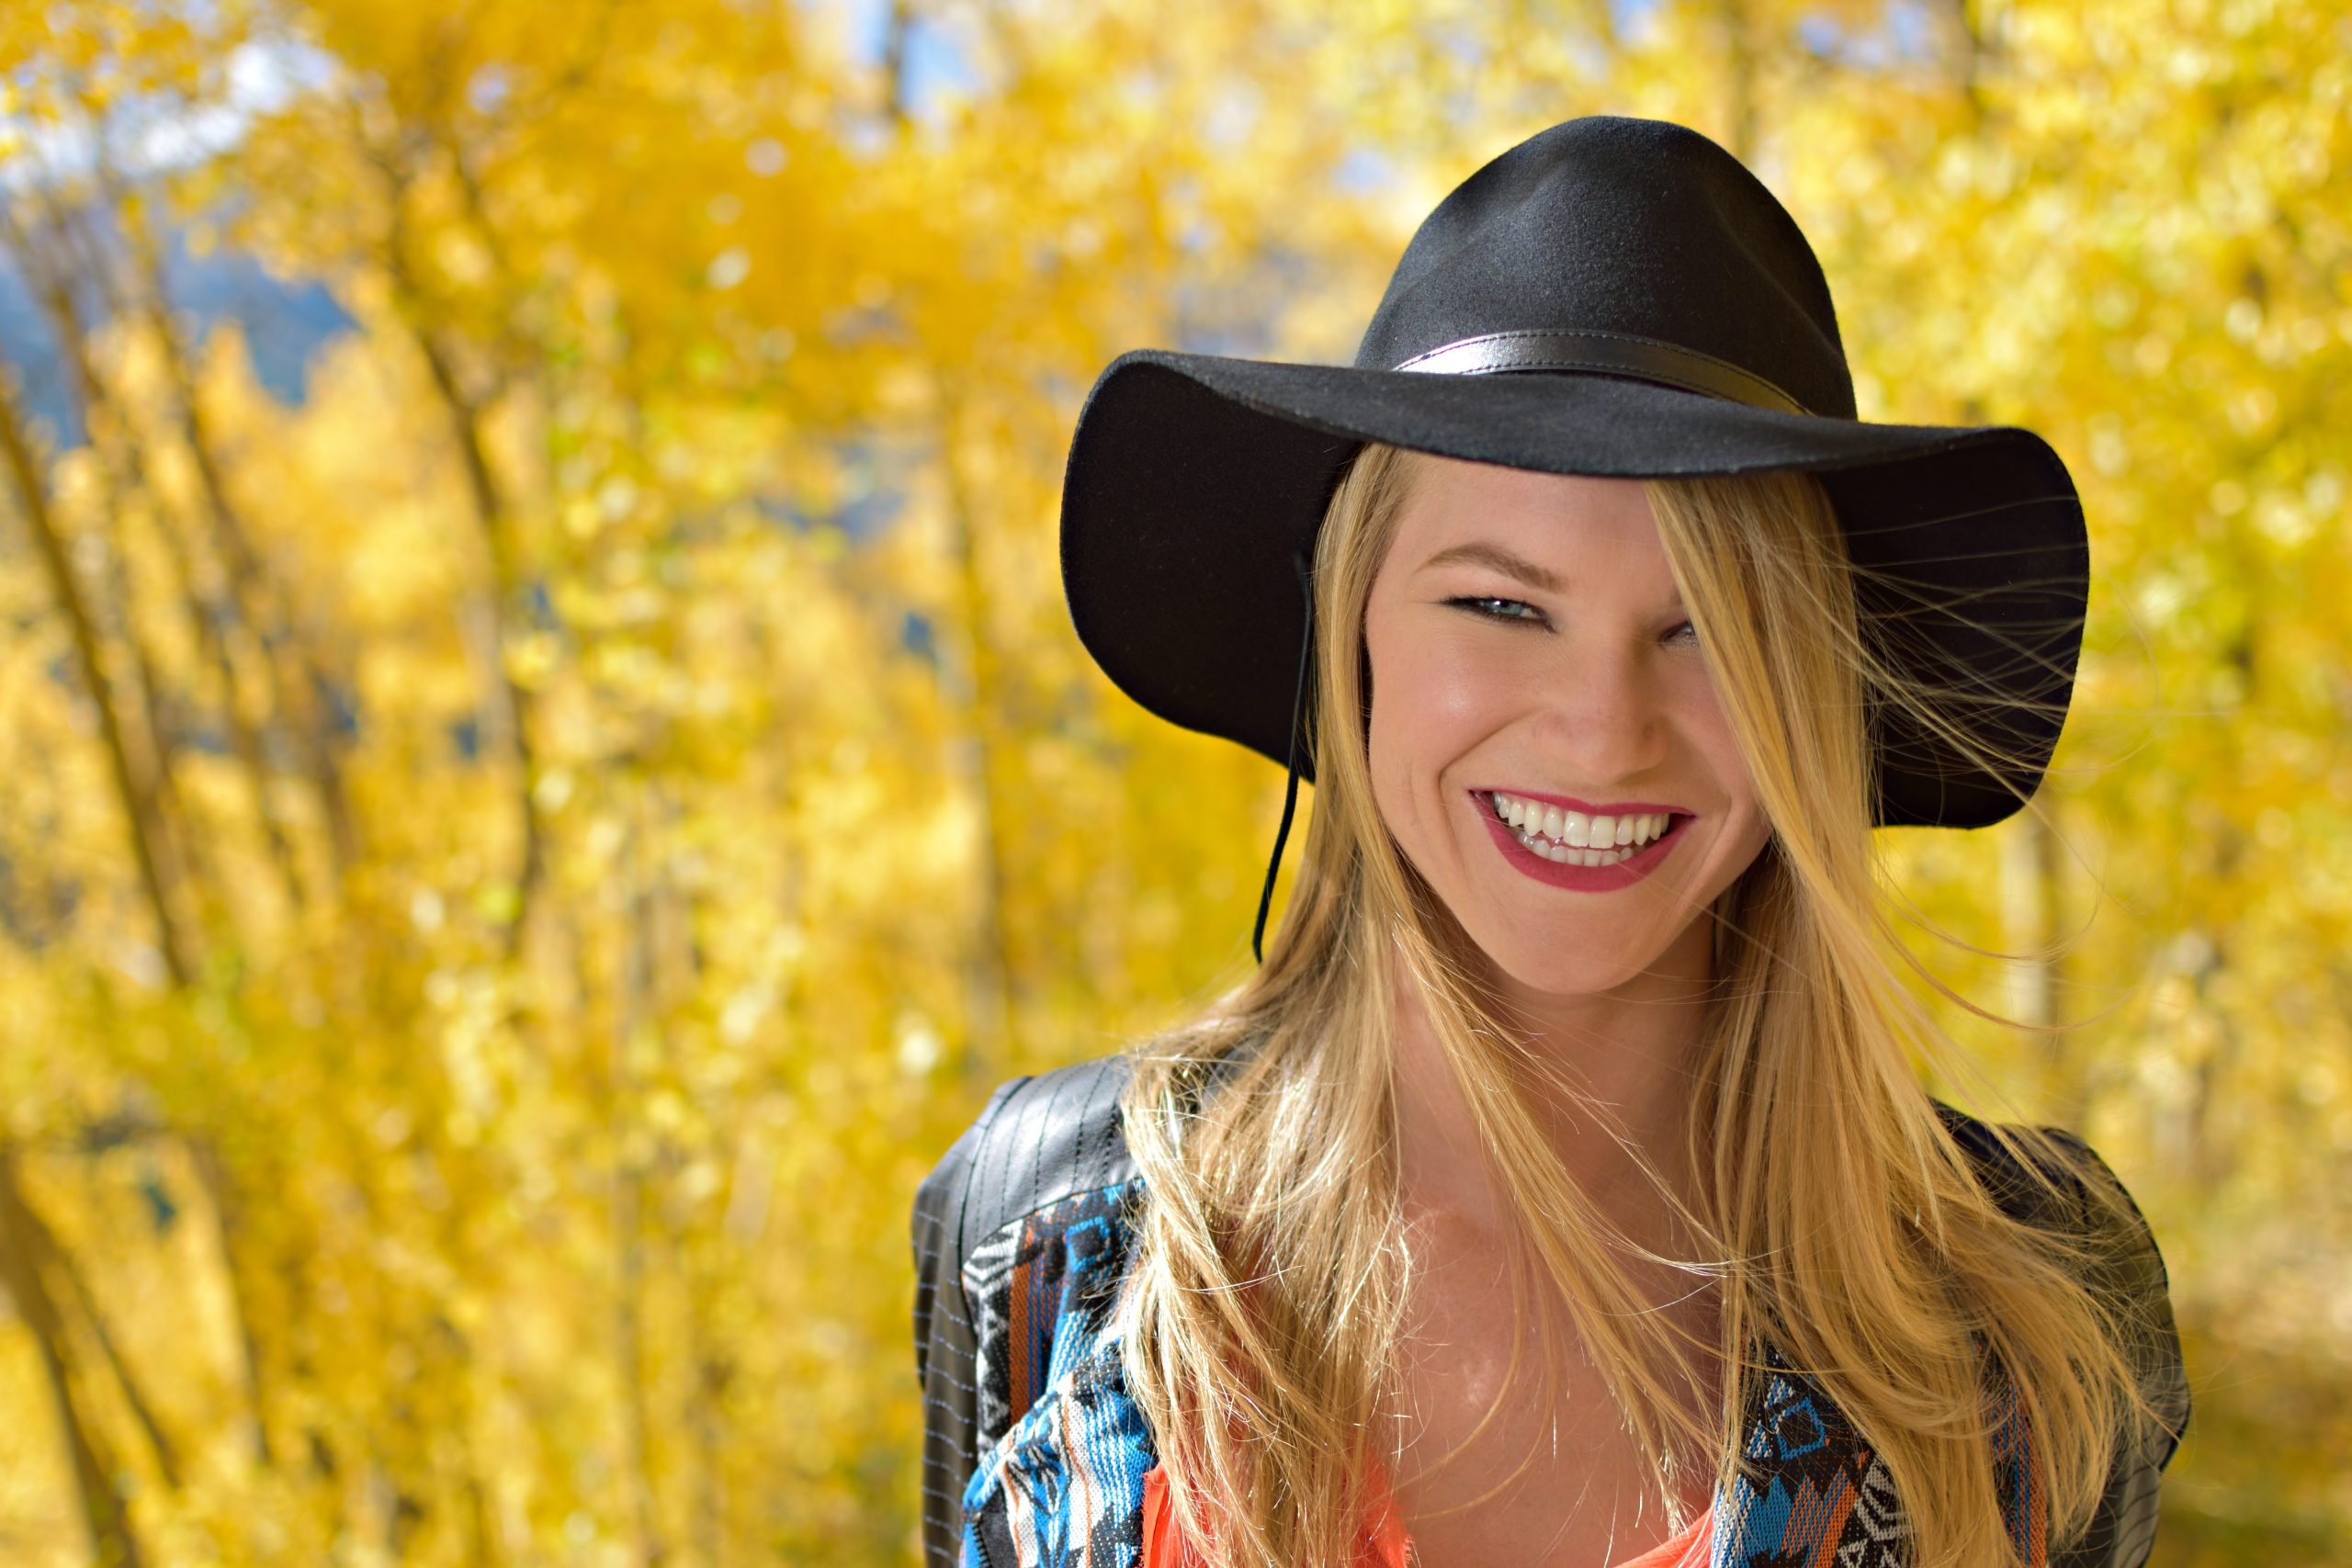
Dixie: Definitely the high angle is key with selfies. And then utilizing the self-timer is definitely a big part of that. If you don’t have a tripod, you can use a table or a bench or something like that to place your camera on. But it’s a lot of trial and error with selfies. That higher angle; it’s always more flattering. You don’t want to shoot from a lower angle because it’s going to bring out the chin if you have any sort of double chin. I love utilizing props. I’m big into hats and glasses and things like accessories and earrings. Those are really going to come to life when you’re shooting self-portraits and things like that.

Why should we all be documenting this time in history — or, how are you choosing to document this time?
Charmi: I think everyone should be documenting this time. I think that this is literally the most unprecedented, never happened before in our lifetime thing. I lived through 9/11, from the other side of New York, the Hudson River and we’ve had people live through tornadoes and we kind of think, “Oh my God, this is the worst it could get,” or, “This is the wildest it could get.” Nobody ever saw this coming and I think that for future generations it’ll be really interesting for everyone to see how lots of different people spent this time and how they viewed this time. Photography really isn’t just about what you’re photographing, it’s a lot of what feelings are coming through in the image and the story that you’re telling. I think telling our stories of this time is going to be really important.
I am trying to force myself to photograph things even when I’m in a mood because it’s not easy to be cooped up, but I actually think it’s a really good way to process your feelings. So on a lot of different fronts, I think it’s really important that we record this history.
Thomas: I know this maybe isn’t as fair to the folks that are in an apartment, but we live in suburbia Colorado and we have a lot of flowers coming up through the dirt right now. It’s full-on spring out here. We shoot macro and flowers and that kind of thing by default on assignments and workshops, but I’ve kind of made that my mission. It’s like, okay, I can’t really leave my yard but look at all these flowers coming up.
Dixie: I think that in life in general, when we go through things that are tough and life gets really real, people gravitate towards art because it’s a nice outlet. It’s an escape from what’s going on in reality. This is a perfect time to turn off your television, turn off the news, get out and shoot because that’s going to really be good for your soul, and just getting those creative juices flowing to get away from what’s going on.
My folks have two Frenchies so I’m going to be probably up shooting them today because it’s a really nice sunny, sunny day today, just to get out and get off the computer, get off the screens, and really just take in that moment. I think it’s super important.

 Share
Share Print
Print